Hello friends!
This is the post regarding nail art brushes. In India getting good quality nail art brushes for affordable price is very difficult as nail art has recently entered Indian market. I had purchased nail art brushes from ebay and liked them alot. So thought of sharing my experience with you guys so that it would help you to pick the right brush.
Before I show you my buy from ebay lemme give you a brief introduction about the types of brushes used for nail art.
Liner Brush: Less Bristles and usually pointed so that it’s easier to draw perfect short lines. Excellent for drawing outlines. You can also use it for creating animal print.
Shader/Flat Brush: Short bristles with square or blunt end. It is useful in detailing like shading. Especially useful in one stroke nail art where you need to load brush with two colors.
Marbler/ Dotter Brush: Instead of bristles it will have narrow tip of different size. Useful in putting different sized dots.
Fan Brush: Medium length, flat, fan shaped bristles. It helps in shading and creating swirls. You can load it with multiple colors to create gradient effect. Can be used to sprinkle glitters and clean the excess flocking powder. Gives airbrush effect.
Angular Brush: Short, flat, angled bristles cut at forty-five degree angle. Perfect brush for creating slants and angled shapes.
Crooked Detailer Brush: Angled brush with short length – uneven bristles. Easy to draw fine details and outlines. Can be used to add highlights.
Striper Brush: Pointed tip with very long but less bristles. Suitable for long vertical or horizontal lines. Depending on the bristle thickness and amount of paint on brush, line thickness can vary.
Detailer Brush: Short, flat bristles which graduate to a tip at the end. Can be used to draw flower petals.
Grass Comb Brush: Short, flat, separated bristles with uneven lengths. Helpful in drawing grass, feathers etc. Gives airbrush effect.
These are main categories of nail art brushes. Depending on the size and thickness, there are more varieties too. Here is a photo which shows the 15 different types of nail art brushes and designs created with them.
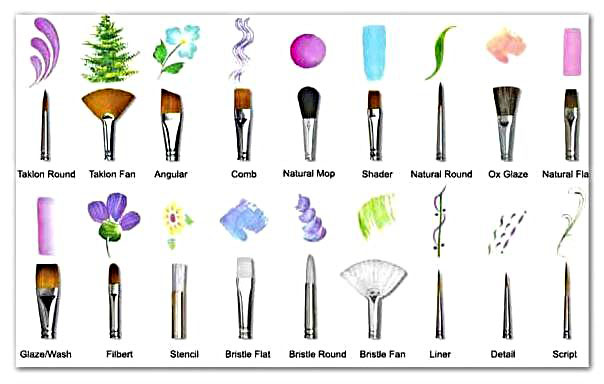
Nail Art Brushes
photo source: http://www.ninasartandframing.com/brushes.php
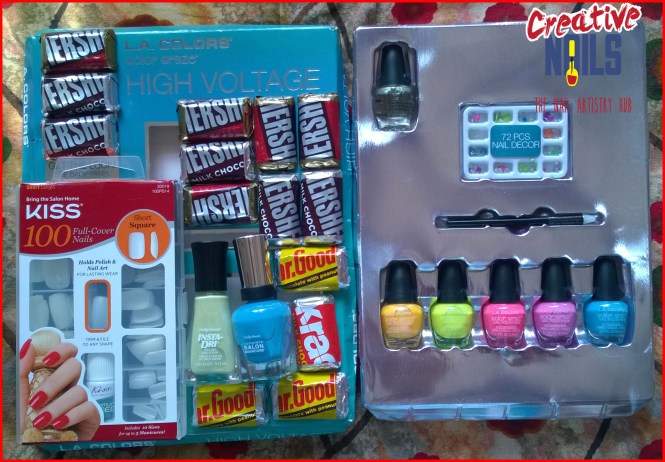
Now it’s time to show the brushes I purchased on ebay. Here you go.

Nail Art Brushes From Ebay
It has 15 nail art brushes and all are awesome. Hope the information on this post helped you. 🙂
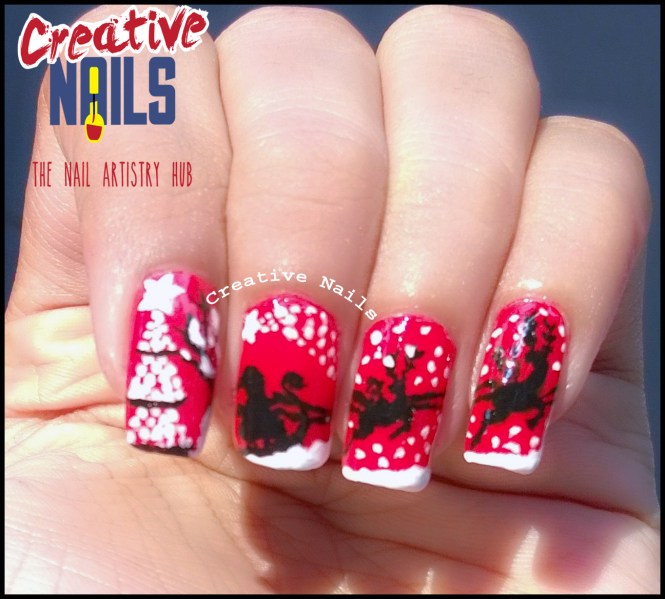
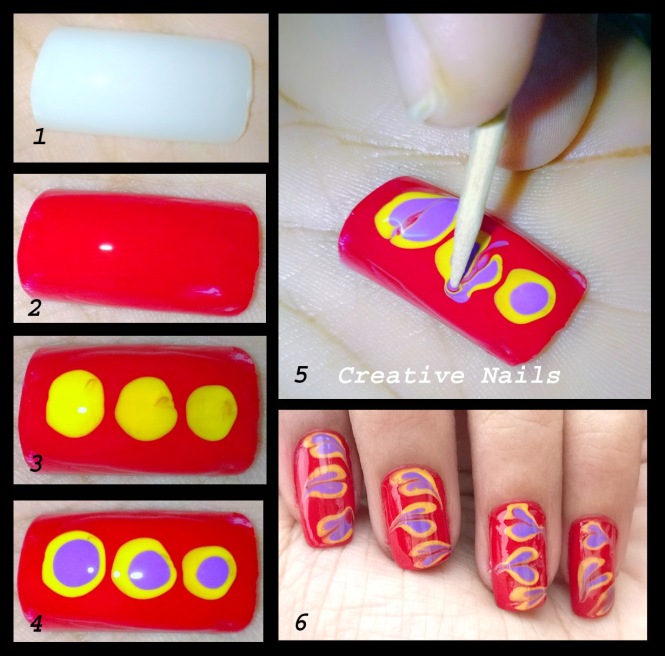
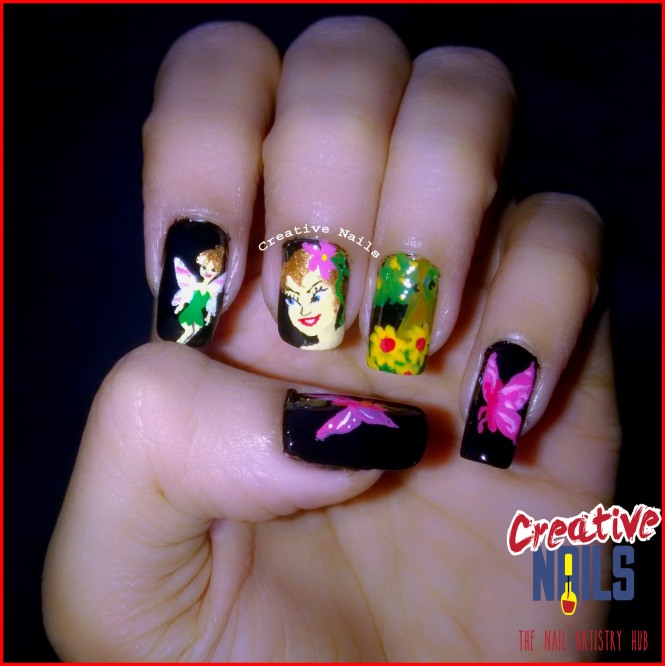
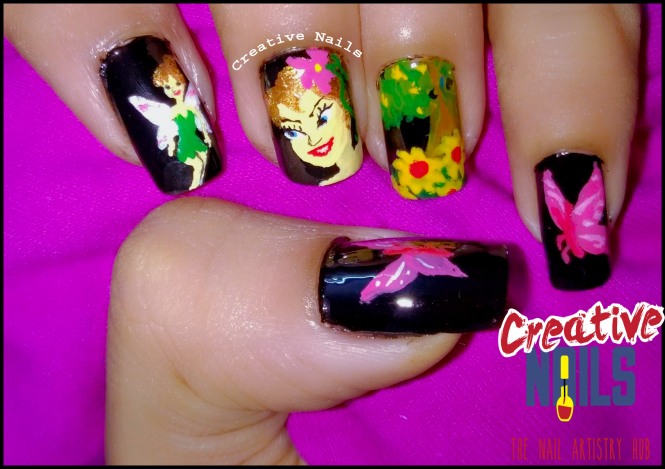
Enjoy nail arts with Creative Nails! 🙂