Hello friends!
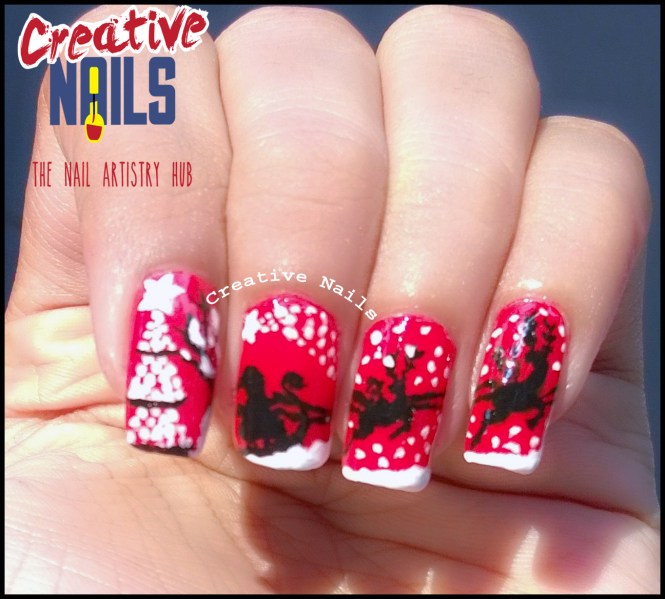
In the month of December snowflakes nail art is a must. So today, Creative Nails is gonna help you to get your snowflakes done. 🙂
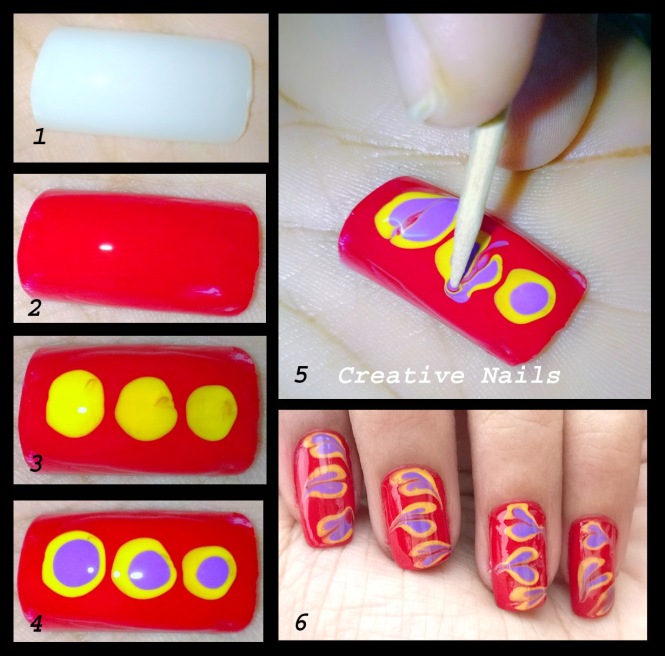
Here is a step by step reference guide with photos.
Step 1: Apply the clear base coat (colorless polish) and let it dry.
Step 2: Apply one or two layers of light or dark blue color polish. Let it dry. (I have used sponge to get gradient on my nails, the tutorial for which will be posted at the earliest).
Step 3: If desired, a very thin layer of shimmer polish may be applied. Let it dry.
Step 4: Draw star shaped lines as in the photo.
Step 5: Draw “small v” shape at the edges of the lines of the star.
Step 6: In between the line draw smaller lines as shown in the pic and your snow flake is ready. 🙂
Step 7: If your nails are longer,you may draw one more smaller snowflake and can
draw a line in between the snowflakes as I have done.
Step 8: To enhance the beauty of your snowflakes you may place some rhinestones on it.
Step 9: Apply a top coat (colorless polish) and you are done. 🙂

Do It Yourself (DIY) – Snowflakes Nail Art
Enjoy the nail arts with Creative Nails. 🙂